


Stripe Account Setup Guide
Getting started with Stripe: Create or connect an account
Already have an account? Click here to learn how to add/remove members
Creating or Connecting your Stripe Account
Your platform will guide you through a secure Stripe onboarding flow to either create a new Stripe account or connect an existing one.
What to expect
- Click the Connect with Stripe button in your platform dashboard.
- Choose Create a new Stripe account or Sign in to connect an existing account.
- Complete the onboarding form (business details, representative info, and payout/bank details).
- Review and authorize access so your platform can process payments on your behalf.
- You’ll be redirected back to your platform with your Stripe account connected.
What you’ll need
-
Legal entity type (Individual/Sole Trader, Company, Partnership, Non-profit, etc.)
-
Registered business name and address (exactly as on official records)
- Business website or a clear product/service description
- Owner/representative details (full name, date of birth, address)
- Identification (typically Australian driver licence or passport; Medicare card may be requested)Bank account or debit card for payouts
- Bank account for payouts
Tips
-
Ensure your ABN and business name match the Australian Business Register (ABR).
-
Use a business email you monitor, as Stripe will send important updates there.
- Only an authorized owner or representative should complete onboarding.
Troubleshooting
- If you can’t sign in to an existing Stripe account, reset your password at stripe.com.
- If you see an error returning to your platform, try again in a private/incognito window or contact your platform’s support.
Verification follow-ups
After you create or connect your account, Stripe verifies your business information—usually within minutes. If additional details are needed, Stripe will notify you by email and show a task in your Stripe Dashboard.
How to check your status
- Sign in to your Stripe Dashboard.
- Look for banners or tasks such as Finish setting up, Requirements due, or Verification in progress.
- Open the task to see exactly what’s required and submit details there.
Common follow-up requests
-
Clear ID for the authorised representative (driver licence or passport; front and back if requested).
-
Proof of address (utility bill or bank statement showing name and address)
-
Business details (ABN/ACN confirmation, business registration or GST registration evidence if applicable)
-
Information on directors and beneficial owners (names, DOBs, residential addresses, and ID)
Notifications and payouts
- Stripe sends updates to the email on file and displays alerts in the Dashboard.
- If requirements are pending, payouts may be paused until verification is complete. They resume automatically once approved.
Adding/removing users to Stripe Account
To add a new team member:
- Log into the Stripe dashboard and navigate to Business Settings.
- Click Team.
- Select + New User from the top right.
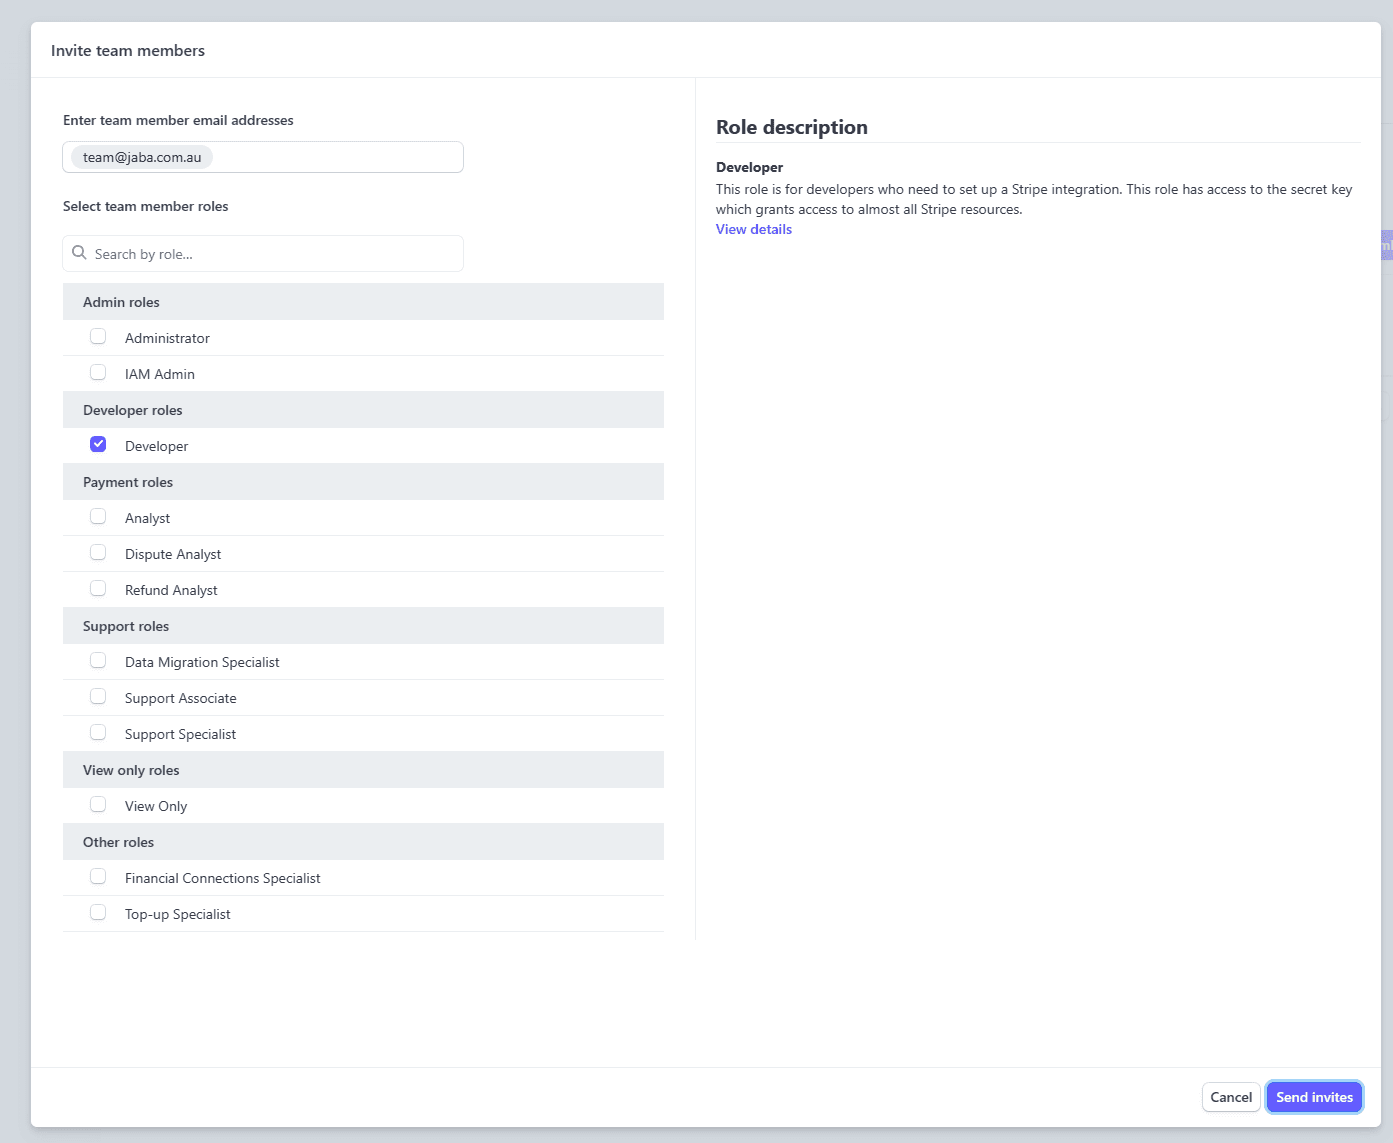
- Add the email address(es) of the team member(s) to invite to the Stripe account.
- Select role(s) (make sure developer role is selected if you wish for the team member to make changes.)
- Click Invite to send the invitation email.
Managing your account
Common account management tasks: changing your password, enabling two-factor authentication (2FA), setting your email preferences, updating your profile, and how to close an account.
Change your password
-
Steps: Sign in to the Stripe Dashboard → click your profile/avatar → Profile → Change password → enter current and new password → Save.
-
Tip: Use a long, unique passphrase and don’t reuse it elsewhere.
Enable two-factor authentication (2FA)
-
Steps: Dashboard → Settings → Security or Two‑step authentication → Add a method (authenticator app, SMS, or security/passkey) → Save backup codes.
-
Team-wide: Admins can require 2FA for all users under Settings → Team → Security requirements.
Set your email preferences
-
Customer receipts (account-level): Settings → Email receipts → toggle receipts for successful, failed, or refunded payments; customize sender details and branding.
-
Your user notifications: Profile → Notifications/Emails → choose alerts (security, product updates) and summaries (payouts, disputes, daily/weekly reports).
Update your profile and business info
-
Your user profile: Profile → edit name, time zone, and contact email.
-
Business details (AU): Settings → Account details → update legal name, trading name, ABN/ACN, business address, website, statement descriptor, and support contact. Ensure details match the Australian Business Register (ABR).
Close your account
-
Steps: Settings → Account details → Close account (at the bottom) → follow the prompts to confirm.
-
Before you close: Export reports, download fee invoices (for GST records), and ensure pending payouts or disputes are resolved. If your Stripe account is connected through a platform, disconnect it in Settings → Authorized applications or via your platform first.
Security and access tips
-
Require 2FA for every team member; review user roles in Settings → Team.
-
Rotate API keys regularly and use restricted keys where possible.
-
Review connected/authorized apps in Settings and revoke any you no longer use.
Can’t find a setting?
-
Use the Dashboard search bar and type “password,” “2FA,” “email receipts,” “account details,” or “close account,” or contact Stripe Support from your Dashboard.
Need help?
- For Stripe account or verification questions, use the Help Center or contact Stripe Support from your Dashboard.
- For issues specific to your platform’s dashboard or connection, contact your platform’s support team.